 Not much piecing or hand work happened here on the farm last week. The sun finally showed up and it was hay making time. We made some nice hay and we have half a field yet to be mowed and then baled.
 I
I prepped the rest of the bottom border triangles for my Jane quilt. It rained this morning so I was able to piece 3 more triangles.
 I’ve enjoyed quilting
 my little quilt projects, in fact the red and black quilt is finished and I just need to quilt 1 more row on the cheddar quilt. While I was quilting the red and black, I saw that I had one block turned wrong. No matter how hard I look things over, it seems I always have a block turned wrong! Oh well, she’s quilted now! I was asked the size of the quilts. The red/black is 21″ x 30″ (53 1/2 cm x 76 cm) and the cheddar is 25″ x 30″ (63 1/2 cm x 76 cm). I think anyway. I was measuring them in the quilting frame and I had rolled once. I’ll let you know for sure when I sew the binding.
I also managed to completely weed the garden last week. 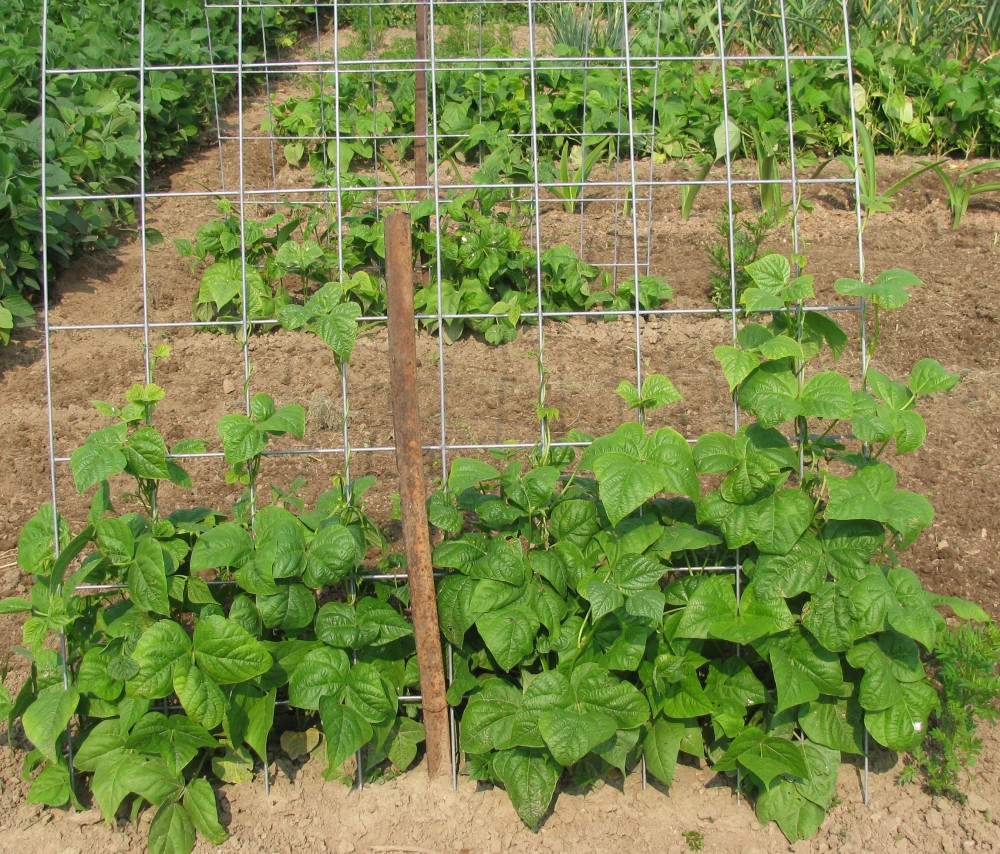 The green beans I’m growing on the fencing hoop are growing well and climbing. Unfortunately my tomato plants were destroyed by a groundhog. I pulled out what was left of the plants and put the cages and stakes away until next year. I don’t know if the plants would have grown out of the set back but they probably wouldn’t have yielded tomatoes until frost time. Fortunately my neighbors have a produce stand just down the road. I usually buy produce there that I don’t raise.
 The first picking of
  green beans yielded a good peck. Plenty for eating fresh and some to put in the freezer. I always add onions to green beans when I cook them. I also harvested the first of the broccoli. This 5 gallon pail was full of broccoli heads and there will be more to harvest this week. The garlic is ready to be pulled too.
I’d like to finish the Jane quilt top but it sure is nice to work outside again and feel the sun. It has been beautiful; low humidity and high temps in the 70’s. There was no hay making today since it rained but the Farmer is going to mow the last of the hay down tomorrow. Hopefully it will be baled before the next rain comes at the end of the week.


