Archive | September 2014

Three Inch Block Quilt Finished

In 2013, I participated in a 3″ finished block exchange. There were 6 of us ladies and we each made 6 sets of 6 different blocks for a total of 36 blocks. We exchanged twice for a total of 72 blocks. At the spring Dear Jane Retreat, I sewed the blocks I received together. I showed the top in this April post.

This top was on the list of projects to be hand quilt this summer, but it wasn’t getting quilted. I decided I was going to try to quilt this on my sewing machine and to stitch it  in the ditch, how hard could that be? So I started, using a straight stitch and quilted about 12″. I didn’t like how it looked, kind of blah, so out those stitches came. I have a friend who says to use a decorative stitch, so decided to try that. The black thread blends in with the black fabric so it doesn’t show very well, but turned out much prettier than a straight stitch.

IMG_4669

We only had 1 rule for our exchange, it had to be 3 1/2″ so it would finish at 3″. Some of the blocks are hand embroidered, some are machine embroidered, some hand appliqued, some machine appliqued. And of course pieced blocks too. Here are close up photos of the blocks.

IMG_4670

IMG_4671

IMG_4672

IMG_4673

IMG_4674

IMG_4675

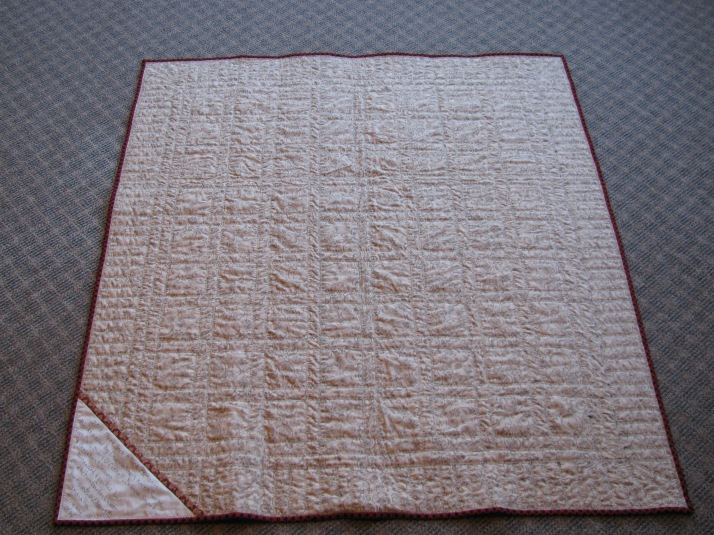
A view of the back of the quilt and a close up of the quilting.

IMG_4676

IMG_4677

Yes, some of the black thread shows on the back. The quilt police haven’t shown up yet!

IMG_4680

Another project finished and she is hanging on my quilt ladder!

An Old Project Finished

Back in the ’80’s, my mother pieced and quilted a sampler quilt for her and dad’s bed. Mother died in December 2006. When my sisters and I were going through mom’s “stuff”, one of them found a basket with 10 pieced blocks and a bunch of fabric. I immediately recognized what they were from. Mother had pieced extra blocks for her sampler quilt, then chose the ones she liked best. She placed the extra blocks in the basket along with the fabric, probably intending to someday make something with them.

I decided to make something with those blocks, so I brought them home. I sewed 2 more blocks so there would be a dozen, then bagged everything up until I had more time. Several years later, I got out the bag and sewed the top together, then back it went into storage to wait its turn.

It’s turn came this spring. Last winter I saw a quilt that a friend had quilted using what I grew up calling “long stitching”, she called it “utility quilting”. Whatever you call it, that is the way I decided to quilt my project. I marked stencils over the blocks and quilted with black pearl cotton.

The binding is sewn on and it is a Finish! and ready to be shown.

IMG_4636

And the back side.

IMG_4637

The quilting is hand done except for the pineapple block. Mother had foundation pieced it using muslin as the foundation. I stitched in the ditch around that block, there was no way I was going to hand quilt the whole block! That block was machine quilted on my sewing machine.

Update on post, December 2014. This quilt was gifted to my sister and her husband in honor of their 50th wedding anniversary.

Working in the Garden

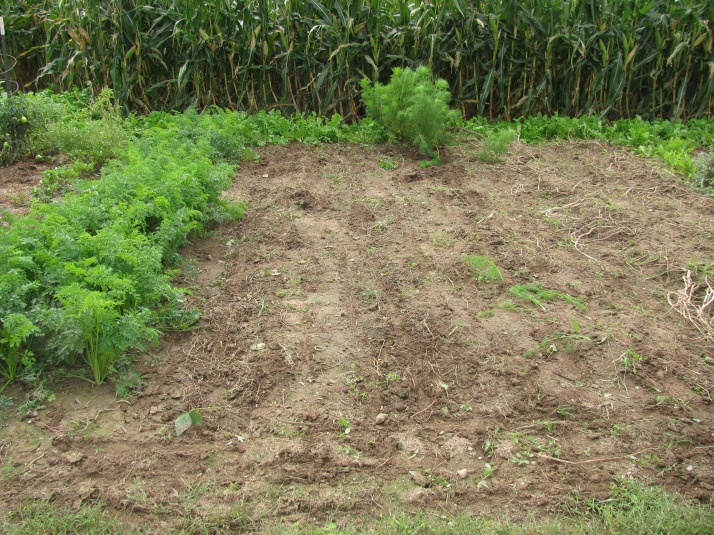
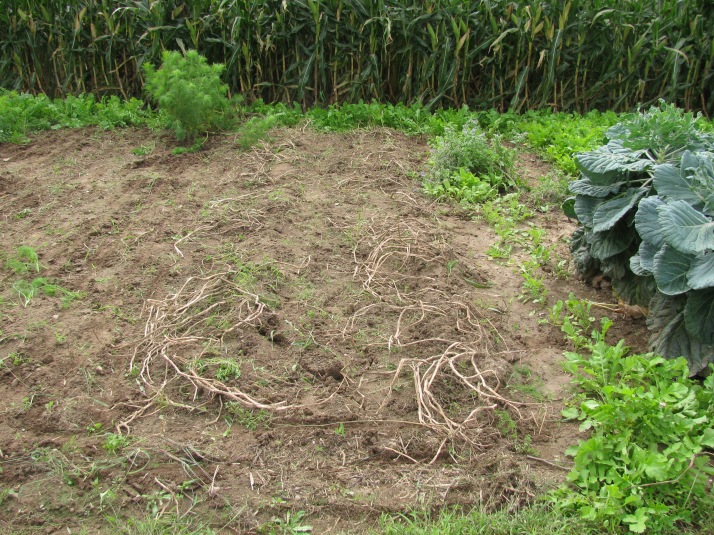
Last week I did some very necessary weeding in the garden. I pulled all the foxtails from the potato patch and had 5 piles of weeds!

IMG_4652

I dug the rest of the potatoes in the first row. We’ve had so much rain, they are muddy!

IMG_4651

The ground was too wet to till, so I mudded in the radish seeds where the green beans and the first row of potatoes had been. The seed wasn’t planted very deep.

IMG_4653

When the ground is not as wet, I’ll dig the last 2 rows of potatoes. Those dead looking brown things are the potato stalks.

IMG_4654

When I planted my broccoli plants last spring, I found some plants that were labeled cauliflower. I don’t normally grow cauliflower but  since I had it, I’d grow it . . . but . . . is it cauliflower? Does cauliflower get sets on the side? This looks suspiciously like brussel sprouts!

IMG_4657

And the top looks like this; so is it cauliflower or brussel sprouts?

IMG_4658

This grasshopper doesn’t care what it is, it tastes good to him.

IMG_4659


Country Threads BOM

The September Country Thread blocks have been sewn. I needed to make 2 Chevron Blocks.

IMG_4628

IMG_4629

They said to make another February block.

IMG_4630

I’ve changed the house block. The Farmer and I think this is an improvement.

IMG_4631


Canning Tomatoes

I freeze most of the fruits and vegetables I preserve, but all tomato products are canned. Early last week I canned tomato chunks, tomato juice happened later in the week. I scald clean, whole tomatoes for 15 – 20 seconds in boiling water, then quick chill the tomatoes in ice water. Next the tomatoes are cored, skinned and cut into pieces and placed into glass quart or pint canning jars. Wipe the jar edge with a clean dishrag, put on the lid, screw on the ring and place in the canner.

Most people can their tomato products in a hot water bath, but I pressure can mine. I have 2 canners, the Mirro Matic my mother gave us when the Farmer and I were married back in ’76, and an All American I purchased several years ago.

IMG_4547

The Mirro Matic processes 7 quarts or 10 regular pints, the All American also processes 7 quarts, but since it is taller, I can stack the pints and process 19 pints at one time. Or I can process 7 quarts and 9 regular pints. There is a rack that lies on top of the bottom jars and holds the top jars.

By using 2 canners, I had all the jars processed before I went out to the barn for the evening milking. Otherwise I would have had to run them through when I got back in the house after chores.

IMG_4551

Todays work yielded 35 quarts and 8 pints of tomatoes. I will let the jars cool overnight. Then tomorrow I will take off the rings and wash the jars to remove any tomato residue. After they are dry, I will wipe them with white vinegar to remove that sticky feel, then carry them downstairs to the cellar.

I like thick tomato juice so I use my steamer.

IMG_4577

I fill the top section with tomatoes . . .

IMG_4578

Steam rises from the bottom section and cooks the tomatoes.

IMG_4584

I draw off several quarts of tomato water through the hose. This make for a thicker tomato sauce.

IMG_4579

The cooked tomatoes are placed into the food mill,

IMG_4580

And I turn the handle until all that is left is seeds and tomato skins.

IMG_4581

The food mill hooks onto a large kettle.

IMG_4582

Then I fill the jars . . .

IMG_4583

Process in the canners . . .

IMG_4585

And let cool on the counter. The next day I wash the jars, give a white vinegar wipe and carry downstairs to the canning shelves to await use in the wintertime.

IMG_4587

Canning jars of food don’t come out in even amounts for the canners. I don’t like to process small loads of jars. There were 2 pints of tomato chunks leftover and 2 quarts of tomato sauce left. What do you do with the extra? You make chili soup for the freezer.  Put all the ingredients in the 6 quart crock pot and let simmer for at least 6 hours. I’m not including my recipe because everyone likes their chili soup their own way.

IMG_4586

Let the soup cool, then ladle into freezer boxes. Make sure you label them.

IMG_4596

Five boxes of chili, the perfect size for the little crockpot. Run water over a box and the chunk slips right out, stick into the crockpot, turn on low and it will be ready to eat in several hours. Perfect for the days I have Moda or Inspiration club.