Archives

End of the Growing Season; Start of the New

IMG_5496The 2015 growing season is pretty much at an end. On August 29th, the soybeans were still dark green with just a very few leaves starting to turn yellow.

IMG_0020

It didn’t even take a month for the beans to dry down. I took this picture on Friday, September 25th. About an hour after the picture was taken, the combine moved into this field and harvested the beans.

IMG_0048On the following Monday and Tuesday, the Farmer worked the soil and then on Wednesday, September 30th, planted winter wheat. The wheat is up, growing and will be harvested in the summer of 2016.

IMG_0050The narrow row, in between the field radishes in the garden, is where the Amaryllis bulbs were growing. I dug them up last Saturday, washed the roots and laid them in my garden wagon to air dry. I pull the wagon outside into the yard during the day; in the evening I put it back into the garage. They look nice and healthy. The leaves will be cut off after they have dried, then the bulbs will be stored in the basement until I’m ready to start potting them in November. I’ll pot a few bulbs every 2 weeks so I have continuous blooms during the dreary days of January, February and into March.

I tilled the soil where the amaryllis were and then planted garlic cloves. They should push through by the end of October; winter over and start growing again as soon as the soil warms up next spring.

So, as my title says, it is the end of the growing season but next year’s growing season has started.

Harvesting Soybeans

Last week we ran the soybeans. As usual we custom hired the combining. The head on the combine has a reel that sweeps the soybean stalks into the machine.

IMG_4888

Just like combining the corn, the stalks and husks are blown out the back of the combine. Beans are very dusty to harvest.

IMG_4892

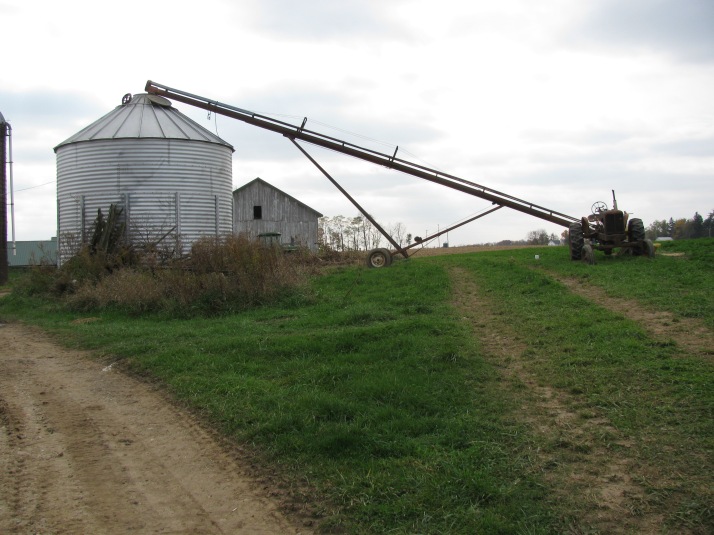
We store the soybeans in a grain bin behind the barns. It very small compared to the bins at the feed mill, but it is large enough for our needs.

IMG_4882

The Farmer pulls the gravity wagon to the auger. The bottom of the auger rests in a hopper.

IMG_4896

The beans are unloaded into the hopper, then they run up the auger into the bin.

IMG_4885

The auger is powered by the PTO shaft on the Allis.

IMG_4884

We will store the beans this winter. The Farmer watches the soybean  price and sells when he thinks the price is good.

The first soybean field harvested was no-til planted to wheat. I wanted to take pictures but the drill didn’t arrive until after dark.

The combine finished the beans and left around 10 pm, the Farmer unloaded the last loads of beans and closed the lid on the top of the bin. The no-til drill was still planting when I went to bed, but he finished planting the wheat. It was raining when we got up the next morning, but that’s ok, the beans are in the bin and the wheat is planted. Harvesting is almost completed for us, we have a few acres of wet corn that we will shell later this month.

November Garden & the Maple Trees

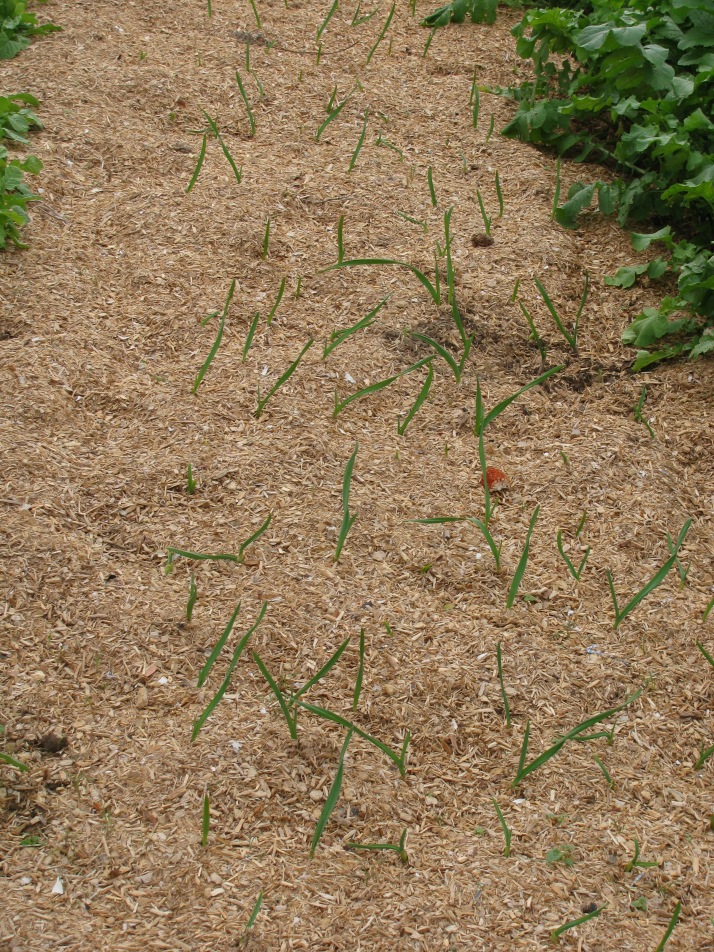
There isn’t much happening in the garden this time of year. The garlic is sprouted up through the sawdust mulch.

IMG_4901

The carrots taste delicious. I’ll wait until later in the month before I pull them to store for winter.

IMG_4900

I didn’t get the tomatoes picked before the killing frost, such a waste. I won’t taste delicious tomatoes again until next summer. Those things they sell in the grocery store don’t taste like real tomatoes! I think they are colored baseballs.

IMG_4899

The maple trees have been especially beautiful this year. We don’t always have the orangey/red color but this year we had color in an abundance.

IMG_4766

IMG_4770

Those are soybeans at the bottom of this picture. They are ready to be harvested.

IMG_4783

Last spring my forsythia didn’t bloom, then I noticed this several weeks ago. Does forsythia often bloom in the fall? Maybe it does and I never noticed it before.

IMG_4822

I took the pictures of the trees earlier in October. The leaves have steadily fallen from the trees and it snowed on Friday, October 31. I’m so not ready for winter!

Start of the Harvest

We started the corn harvest yesterday with the field south of my garden. On July 1st the field looked like this.


IMG_4313

And this is what it looked like yesterday morning.

IMG_4800

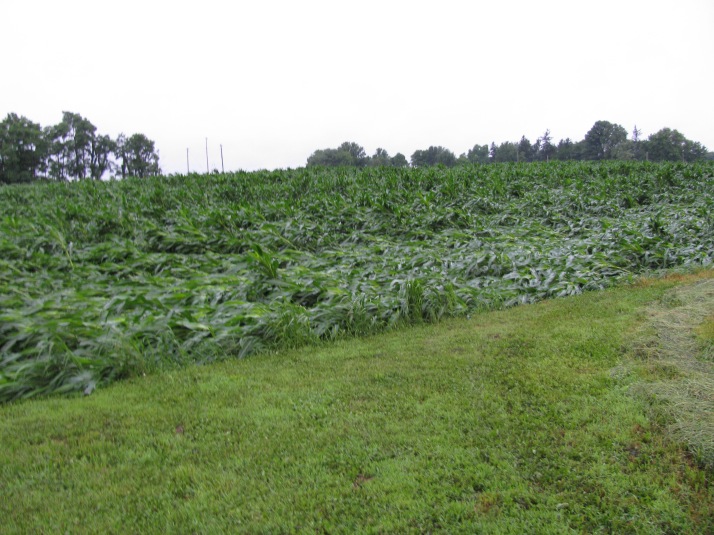
It looks nice and tall, but if you walk into the corn, there are several places the corn has lodged. It was weakened due to the July storm.

IMG_4801

As usual, we have custom hired the combining. First the combine opens the field. It combines the corn off the ends of the field so there is room to park the gravity wagons.

IMG_4802

As the corn goes into the head, the ears are pulled off and the corn is shelled. The shelled corn goes into a hopper on top of the combine. On the back of the combine is a chopper which chops up the stalks and corn cobs, then spits them out into the field.

IMG_4805

When the hopper is full, the combine pulls up to the wagons, moves the auger over a wagon and unloads the shelled corn into the wagon.

IMG_4808

IMG_4810

IMG_4819

When 2 of the wagons are full, the Farmer pulls them to the feed mill.

IMG_4826

IMG_4828

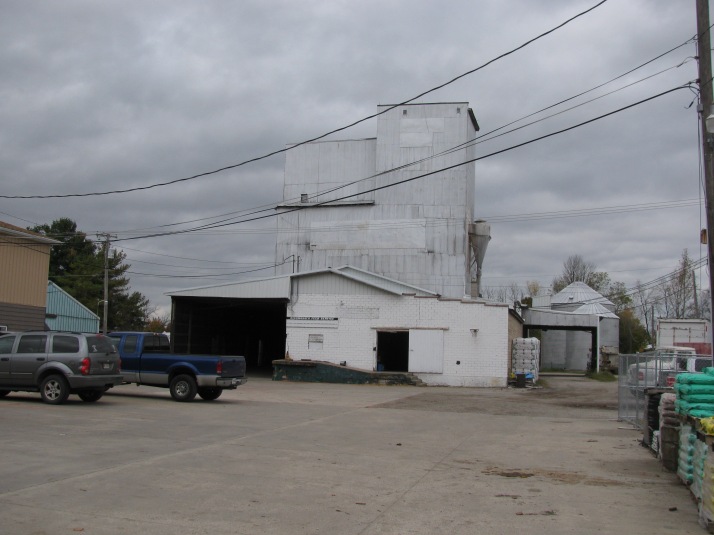
When he gets there, he pulls onto the scales. They weigh the tractor and wagons of corn. They also take a sample of corn from each load to check for the moisture and test weight.

IMG_4829

He then pulls the wagons into the shed to unload. On the side of each wagon is a wheel which opens the chute on the side of the wagon. The farther you open the chute, the faster the corn runs out. You unload 1 wagon at a time. The corn is unloaded into a pit.

IMG_4845

IMG_4830

After the wagons are unloaded, he pulls back on the scales and they check the weight again. This is how they know how much corn he has unloaded. He goes back to the field and hooks up to more filled wagons. There are 2 other men pulling wagons to the mill also. They just keeping going.

IMG_4843

After the corn has been unloaded into the pit, it goes through the dryer.  Heated air is blown over the corn and removes the excess moisture. The corn is dried to lower moisture content. If you don’t lower the moisture content, it won’t keep over the winter.

IMG_4842

After it is dried, it is blown through the long pipe at the bottom of the picture and into a grain bin for storage. We store all of our corn at the mill.  The corn will be used in our cow, heifer and calf feeds. They subtract the amount used in the feed against the amount we have stored there.

IMG_4834

IMG_4835

They started combining around 9:30 in the morning and by 5 pm, they had this field finished. I hope the rest of the corn harvest goes as smoothly as this field did.

IMG_4846

Making Applesauce

It’s apple time and I need to make applesauce for the freezer. I like to use Cortland apples.

IMG_4749

After I’ve washed the apples, I cut them in quarters and remove the stems & seeds. Not everyone does that, but I do. I don’t like those dark little specs in my applesauce. Then I slice then again lengthwise, I think they cook faster that way.

IMG_4750

I am using the steamer to cook the apples.

IMG_4757

After the apples are cooked . . .

IMG_4753

I put them in the sieve and start cranking.

IMG_4755

This is what is left in the sieve . . .

IMG_4752

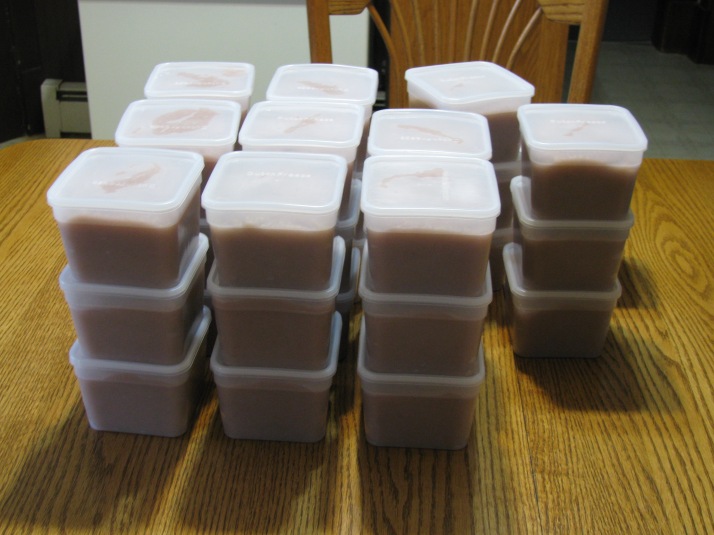
Nice and thick applesauce in the kettle. The apple peels make the sauce turn pinkish.IMG_4751

A by-product from using the steamer is apple juice. It’s not our favorite juice, but we have it so we drink it. It does taste better than the stuff you buy in the grocery store.

IMG_4762

These boxes of sauce are ready to go into the freezer.

IMG_4761

Applesauce ends the canning and freezing journey for 2014. Now I need complete fall cleaning, and then I can SEW!

Filling the Silo

In June we planted the last field of corn, this was to be the silage corn. This corn is now dry enough to chop for silage.

IMG_4732

The Massey Ferguson 1100 powers the blower which blows the silage up the pipe. The JD powers the auger and beaters on the wagon.

IMG_4712

At the top of the pipe is a curve which shoots the silage down into the silo. You can also see the ladder beside pipe, the Farmer climbs it to make sure the silage is filling the silo evenly. Sometimes he needs to adjust the top of the pipe.

IMG_4717

It’s a long way down from the top. The Farmers figures it normally takes 8 acres of corn to fill the silo.

IMG_4716

The those straight looking “poles” are power take off shafts; they power the equipment.

IMG_4713

A view of the blower from the other side. You can see the silage on the right side shooting out of the wagon into the blower hopper.

IMG_4734

And a photo of the silage coming out of the wagon.

IMG_4735

Close up of the chopper wagon.

IMG_4714

There are chains on the floor of the wagon that pull the silage forward, the beaters knock it down into the auger which shoots the silage into the blower.

IMG_4718

IMG_4719

Now we are going out into the field. There 3 people involved in the chopping process. The owner drives the chopper, a neighbor and the Farmer are pulling the wagons up to the silo to unload. They keep 3 wagons going continuously.

There are different ways to chop the corn. This is a self-propelled chopper. It cuts the corn, chops it and blows it into the wagons.

IMG_4722

Two close-ups of the chopper head.


IMG_4728

IMG_4727

A view of the silo from the north side. See the silver chute on the left side of the silo? There is a ladder on the inside that goes to the top of the silo. When the silo is full, the Farmer will climb up to the top and cover the silage with a heavy black plastic silage cover. This will help keep the silage from spoiling on the top while it is fermenting.

IMG_4733

The silage will be ready to feed to the cows by the first part of November. They love it!

October Garden, Planting Garlic

The middle of September was cold, chilly, dreary, cloudy and rainy. It’s the gloomy weather that makes us fully appreciate the beautiful fall weather we are having now. We have had a week of sunny days without any rain so I was able to dig the potatoes and I’m ready to plant the garlic.

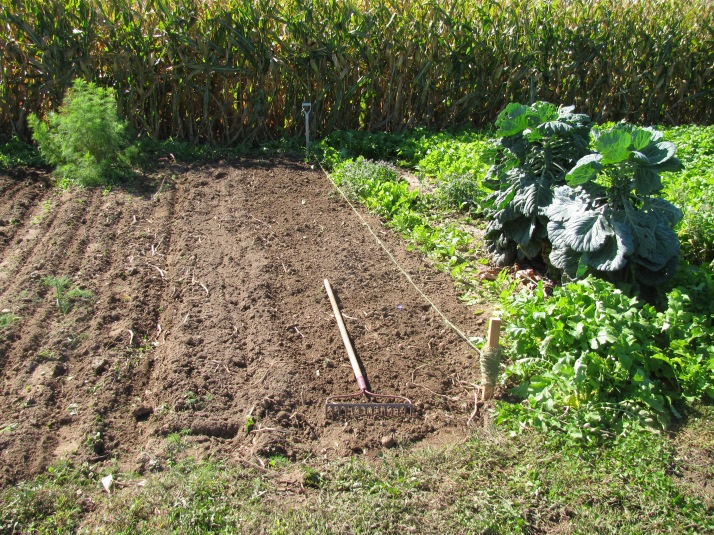
First you till your soil, then level it  with a garden rake. I’ve got row marker stretched on the right side so the row runs straight.

IMG_4691

When I harvested my garlic last summer, I laid the heads out on a cloth in the garage to dry and left them there for a month. After they dried, I selected 20 of the largest heads and set them in a separate basket to use for planting this fall. You will need to separate the heads into single cloves. It is ok to leave on the paper, it won’t hinder planting.

IMG_4692

Plant the garlic with the root end down. Push the clove into the soil at least an inch deep, 2 inches is better. Plant the cloves 4 or 5 inches apart in a wide row. Make a mark in the soil when the cloves run out. I guess I plant my rows too wide, they never go the length of the garden. With the back side of the garden rake, gentle rake the soil so the garlic cloves are covered. Then softly firm the soil.

IMG_4696

I cover the garlic with 2″ – 3″ of sawdust. Make sure you cover the edges so the weeds don’t creep in. Try to level the sawdust evenly.

IMG_4697

Ok, this is it, this is how you plant garlic. The garlic will start growing this fall and push up through the sawdust. Early next spring I will add more sawdust for mulch, then harvest in June or July.

The tomatoes are still producing, not a lot, but enough to eat.

IMG_4689And the carrots are ready to eat.

IMG_4695

The field corn is starting to dry down. We won’t harvest it until it is completely brown.

IMG_4698