Archive | October 2014
Nine Patch & Hourglass Quilt
She’s Finished!!! She’s back from the machine quilter and I’ve got the binding completed. It was a dreary, gloomy day when I took the pictures but she brightens up the day! Tammy Payette of Three Sisters Quilting did the quilting.
The narrow black border did not lay flat so she quilted it. The quilting doesn’t show on the top side, but look at the back.
Another finish, now, onto other projects!
Block of the Month Projects
I’ve sewn the October Country Threads BOM. This was more challenging than I thought it was going to be. I had it completed, then looked at the pattern again. It was pieced incorrectly! It isn’t symmetrical and that is how I had sewn it. So, out came the seam ripper and apart came the block. The size is 18″ finished.
In September we received the layout for the 2nd section of the quilt.
I thought there was too much gold, but it looked fine when I laid the first section beside it. I don’t know which way I like better, with the first section on top?
Or with the second section on the top? What do you think?
I’ll decide when the 3rd section is completed which way to sew them together. This project is 3/4th completed!
The October Buck-A-Blocks are also completed.
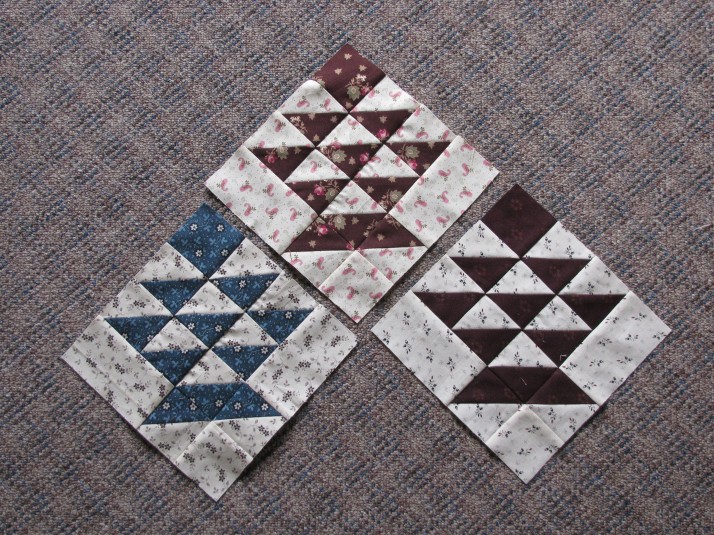
When I started this project back in January, we were given a black and white paper copy of the finished quilt. It seems like this project is taking a long time, so I got out the paper copy and figured the design of the last two blocks. Here are the November blocks . . .
And the December blocks.
The brown and blue blocks contain the extra blocks left over from the other 11 blocks. Scrappy make it more unique.
I’ve sewn the pink and brown blocks together. I won’t get the finishing kit until December so this is as far as I can go with this quilt for now.
I haven’t decided on the fabric for the border for the brown and blue quilt.
I have more of the blue fabric that is in this block,
But I’m not sure if that is what I want to use. I think it might be too dark. At least the center is finished!
Fussy Friday, Star 53
Check out the stars on the Temecula Quilt Co.’s blog.
Start of the Harvest
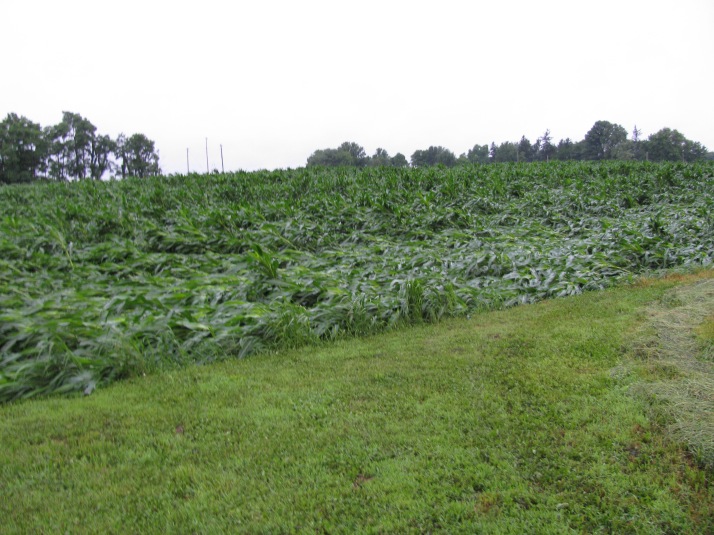
We started the corn harvest yesterday with the field south of my garden. On July 1st the field looked like this.
And this is what it looked like yesterday morning.
It looks nice and tall, but if you walk into the corn, there are several places the corn has lodged. It was weakened due to the July storm.
As usual, we have custom hired the combining. First the combine opens the field. It combines the corn off the ends of the field so there is room to park the gravity wagons.
As the corn goes into the head, the ears are pulled off and the corn is shelled. The shelled corn goes into a hopper on top of the combine. On the back of the combine is a chopper which chops up the stalks and corn cobs, then spits them out into the field.
When the hopper is full, the combine pulls up to the wagons, moves the auger over a wagon and unloads the shelled corn into the wagon.
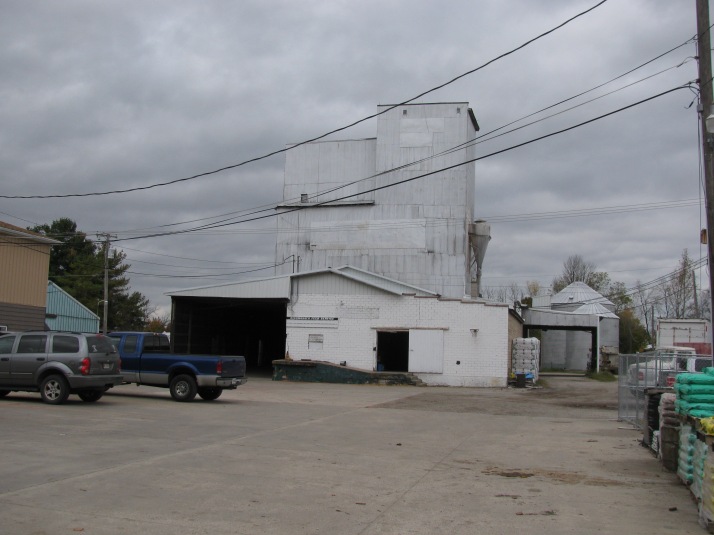
When 2 of the wagons are full, the Farmer pulls them to the feed mill.
When he gets there, he pulls onto the scales. They weigh the tractor and wagons of corn. They also take a sample of corn from each load to check for the moisture and test weight.
He then pulls the wagons into the shed to unload. On the side of each wagon is a wheel which opens the chute on the side of the wagon. The farther you open the chute, the faster the corn runs out. You unload 1 wagon at a time. The corn is unloaded into a pit.
After the wagons are unloaded, he pulls back on the scales and they check the weight again. This is how they know how much corn he has unloaded. He goes back to the field and hooks up to more filled wagons. There are 2 other men pulling wagons to the mill also. They just keeping going.
After the corn has been unloaded into the pit, it goes through the dryer. Heated air is blown over the corn and removes the excess moisture. The corn is dried to lower moisture content. If you don’t lower the moisture content, it won’t keep over the winter.
After it is dried, it is blown through the long pipe at the bottom of the picture and into a grain bin for storage. We store all of our corn at the mill. The corn will be used in our cow, heifer and calf feeds. They subtract the amount used in the feed against the amount we have stored there.
They started combining around 9:30 in the morning and by 5 pm, they had this field finished. I hope the rest of the corn harvest goes as smoothly as this field did.
Making Applesauce
It’s apple time and I need to make applesauce for the freezer. I like to use Cortland apples.
After I’ve washed the apples, I cut them in quarters and remove the stems & seeds. Not everyone does that, but I do. I don’t like those dark little specs in my applesauce. Then I slice then again lengthwise, I think they cook faster that way.
I am using the steamer to cook the apples.
After the apples are cooked . . .
I put them in the sieve and start cranking.
This is what is left in the sieve . . .
Nice and thick applesauce in the kettle. The apple peels make the sauce turn pinkish.
A by-product from using the steamer is apple juice. It’s not our favorite juice, but we have it so we drink it. It does taste better than the stuff you buy in the grocery store.
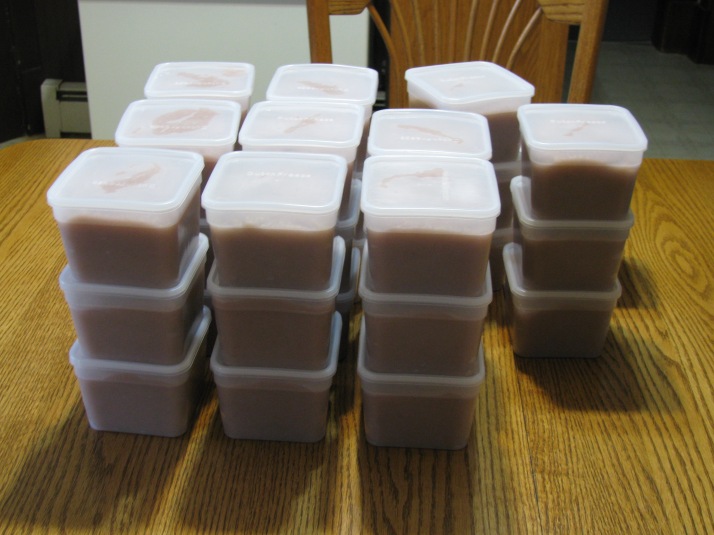
These boxes of sauce are ready to go into the freezer.
Applesauce ends the canning and freezing journey for 2014. Now I need complete fall cleaning, and then I can SEW!
Fussy Cut Friday, Star 52
Ready for Quilting!
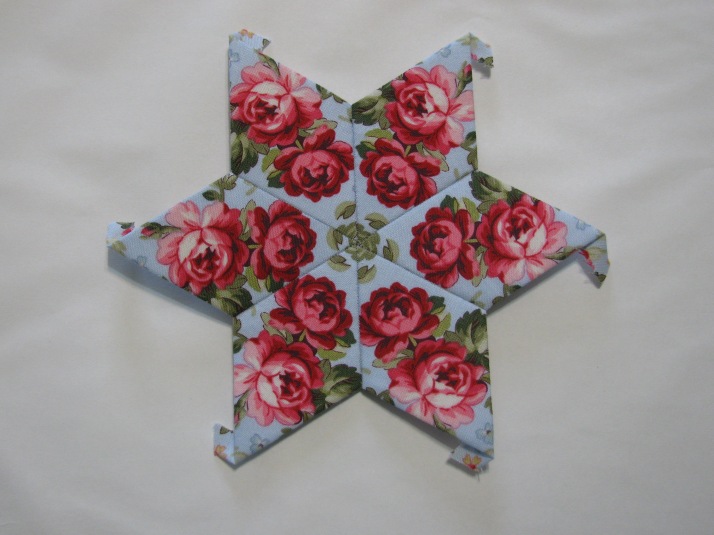
Fussy Friday, Star 51
 This is Fussy Cut Friday, star #51. I don’t know why the title isn’t posting, it shows on the preview. Oh well.
I’m sewing along with Fussy Cut Fridays on the Temecula Quilt Co. website. Look at the stars and she actually has her project completed.
Filling the Silo
In June we planted the last field of corn, this was to be the silage corn. This corn is now dry enough to chop for silage.
The Massey Ferguson 1100 powers the blower which blows the silage up the pipe. The JD powers the auger and beaters on the wagon.
At the top of the pipe is a curve which shoots the silage down into the silo. You can also see the ladder beside pipe, the Farmer climbs it to make sure the silage is filling the silo evenly. Sometimes he needs to adjust the top of the pipe.
It’s a long way down from the top. The Farmers figures it normally takes 8 acres of corn to fill the silo.
The those straight looking “poles” are power take off shafts; they power the equipment.
A view of the blower from the other side. You can see the silage on the right side shooting out of the wagon into the blower hopper.
And a photo of the silage coming out of the wagon.
Close up of the chopper wagon.
There are chains on the floor of the wagon that pull the silage forward, the beaters knock it down into the auger which shoots the silage into the blower.
Now we are going out into the field. There 3 people involved in the chopping process. The owner drives the chopper, a neighbor and the Farmer are pulling the wagons up to the silo to unload. They keep 3 wagons going continuously.
There are different ways to chop the corn. This is a self-propelled chopper. It cuts the corn, chops it and blows it into the wagons.
Two close-ups of the chopper head.
A view of the silo from the north side. See the silver chute on the left side of the silo? There is a ladder on the inside that goes to the top of the silo. When the silo is full, the Farmer will climb up to the top and cover the silage with a heavy black plastic silage cover. This will help keep the silage from spoiling on the top while it is fermenting.
The silage will be ready to feed to the cows by the first part of November. They love it!


