I freeze most of the fruits and vegetables I preserve, but all tomato products are canned. Early last week I canned tomato chunks, tomato juice happened later in the week. I scald clean, whole tomatoes for 15 – 20 seconds in boiling water, then quick chill the tomatoes in ice water. Next the tomatoes are cored, skinned and cut into pieces and placed into glass quart or pint canning jars. Wipe the jar edge with a clean dishrag, put on the lid, screw on the ring and place in the canner.
Most people can their tomato products in a hot water bath, but I pressure can mine. I have 2 canners, the Mirro Matic my mother gave us when the Farmer and I were married back in ’76, and an All American I purchased several years ago.

The Mirro Matic processes 7 quarts or 10 regular pints, the All American also processes 7 quarts, but since it is taller, I can stack the pints and process 19 pints at one time. Or I can process 7 quarts and 9 regular pints. There is a rack that lies on top of the bottom jars and holds the top jars.
By using 2 canners, I had all the jars processed before I went out to the barn for the evening milking. Otherwise I would have had to run them through when I got back in the house after chores.

Todays work yielded 35 quarts and 8 pints of tomatoes. I will let the jars cool overnight. Then tomorrow I will take off the rings and wash the jars to remove any tomato residue. After they are dry, I will wipe them with white vinegar to remove that sticky feel, then carry them downstairs to the cellar.
I like thick tomato juice so I use my steamer.

I fill the top section with tomatoes . . .

Steam rises from the bottom section and cooks the tomatoes.

I draw off several quarts of tomato water through the hose. This make for a thicker tomato sauce.

The cooked tomatoes are placed into the food mill,

And I turn the handle until all that is left is seeds and tomato skins.

The food mill hooks onto a large kettle.

Then I fill the jars . . .

Process in the canners . . .

And let cool on the counter. The next day I wash the jars, give a white vinegar wipe and carry downstairs to the canning shelves to await use in the wintertime.

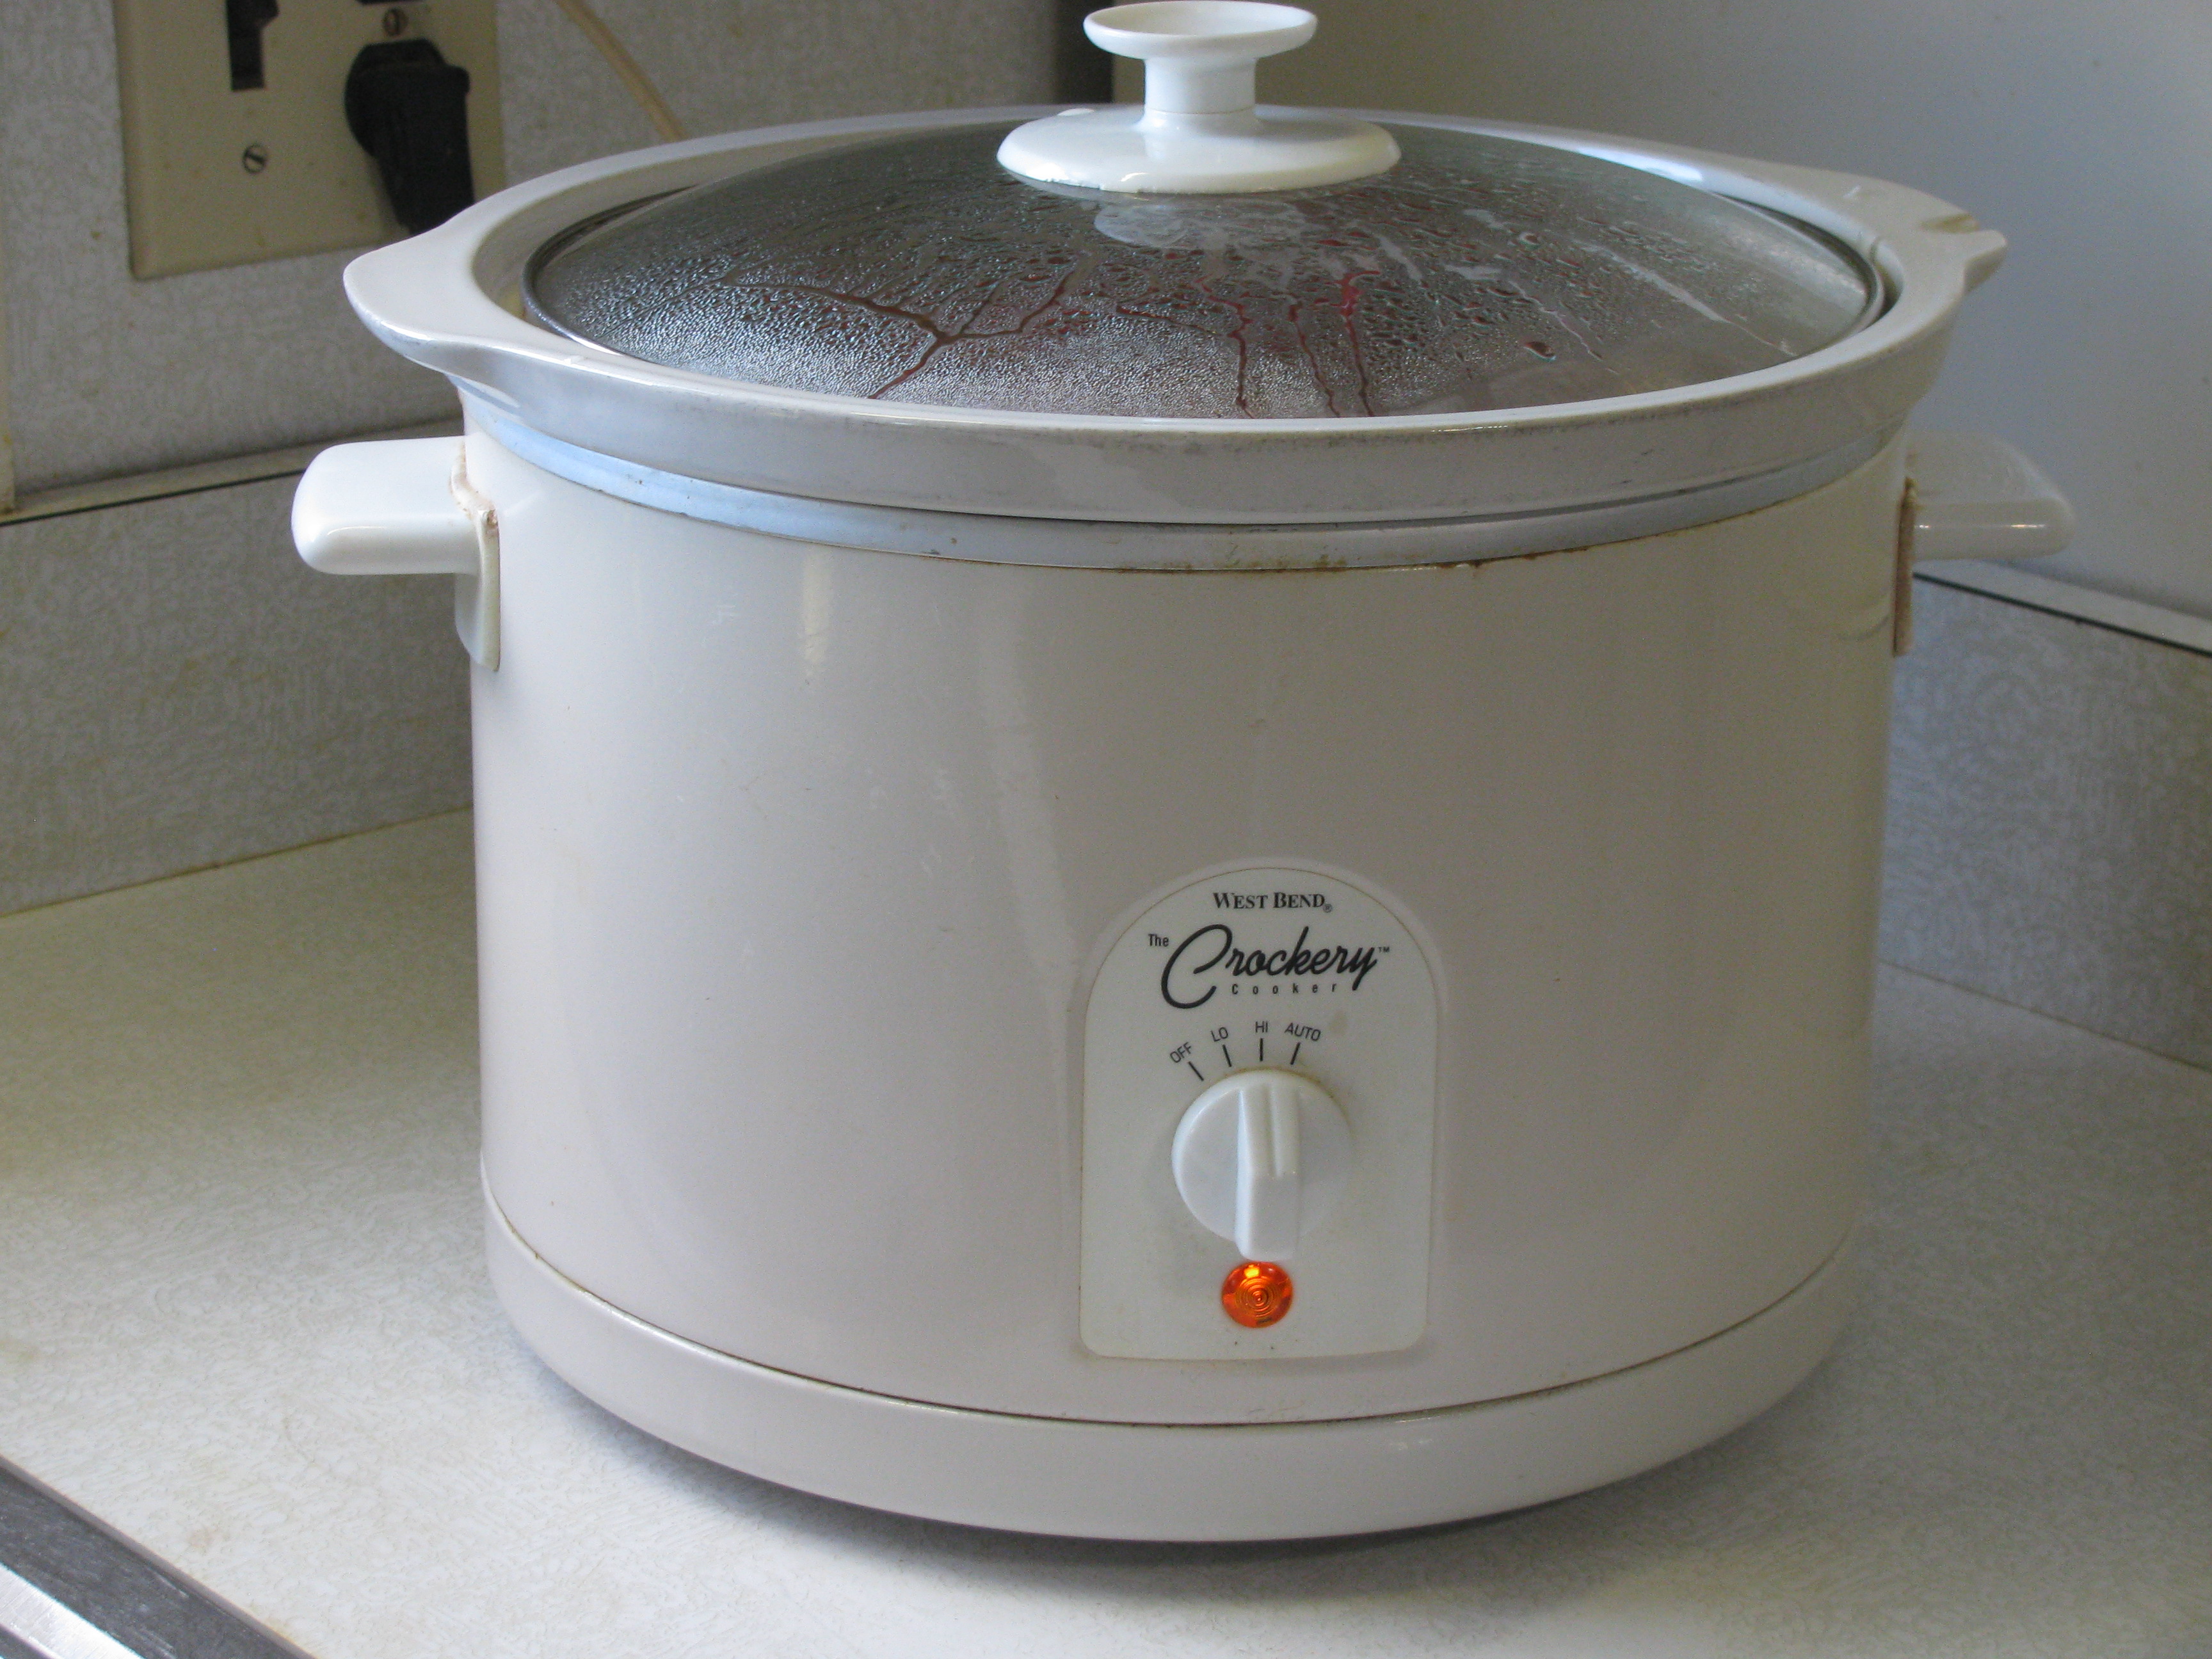
Canning jars of food don’t come out in even amounts for the canners. I don’t like to process small loads of jars. There were 2 pints of tomato chunks leftover and 2 quarts of tomato sauce left. What do you do with the extra? You make chili soup for the freezer. Put all the ingredients in the 6 quart crock pot and let simmer for at least 6 hours. I’m not including my recipe because everyone likes their chili soup their own way.

Let the soup cool, then ladle into freezer boxes. Make sure you label them.

Five boxes of chili, the perfect size for the little crockpot. Run water over a box and the chunk slips right out, stick into the crockpot, turn on low and it will be ready to eat in several hours. Perfect for the days I have Moda or Inspiration club.
 I cut all the rhubarb down and made rhubarb jam. I also googled rhubarb jam and found a recipe for rhubarb butter which is a similar consistency to apple butter. I ended up with 12 pints of jam and butter.