Selecting the fabric for the border has taken me months! I’ve looked at all the fabric stores in our area and couldn’t find that just right fabric. It has been frustrating!
One day when I was at Lolly’s checking out the civil war fabrics, a friend told me to use one of the Jinny Beyer fabrics. Well, duh, why didn’t I think of that?
I think the prettiest fussy cut stars are these purple stars made from Jinny’s Renaissance Garden line so I ordered some to be used for the border. (None of our local fabric stores carry Jinny’s border prints, you have to order it from her site.) But once the fabric was here, I wasn’t sure. It is very dark and I didn’t think the design would show from a distance. Now what?
Son 2 was here for a visit and he always asks what I am working on. I showed him my quilt center and the border fabric. He immediately said that fabric is too dark, confirmation is nice. I pointed to another of Jinny’s fabrics, a blue border print and he said “No, go with the red one.” So I did.
Here is the Star quilt with the borders. 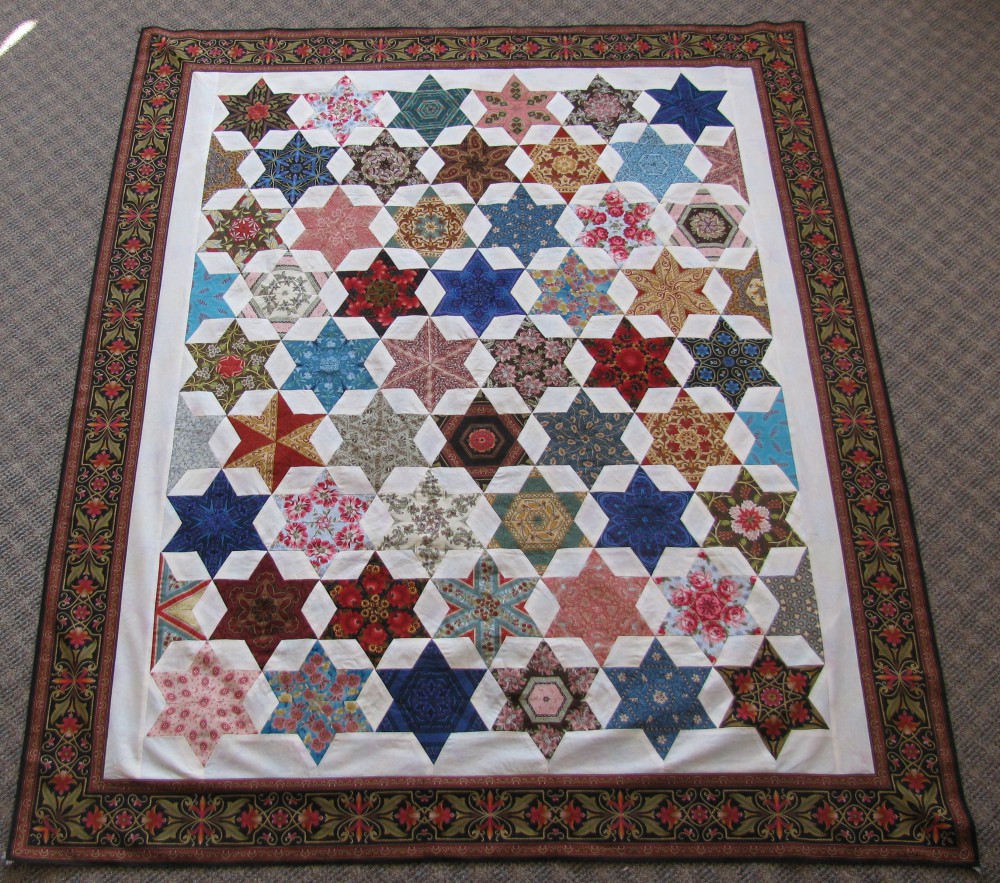
The border fabric is from the Bordering on Brilliance II line. I used some blue fabric from the same line for some of the stars also.
It is definitely hard to see the design on the purple stars, so the decision not to use that fabric is the correct one.
It feels really good to have this quilt top pieced. At this point she measures 49″ by 58″. Now the decision is how to quilt her. I think I want to hand quilt her, but haven’t decided for sure. I’ll lay her on the extra bed upstairs so I can look at my leisure and think about it.
And, for the last time, here is the link to the Temecula Quilt Company’s Fussy Cut Friday.


